Published - | Updated - February 14, 2021 04:18 pm
284 Views
This post was last updated on February 14th, 2021 at 04:18 pm
Introduction of WordPress
WordPress Learning is fun. Anyone with the opportunity to start to create a site would definitely be tempted to make it easy to use. Millions of people around the world rely on WordPress for their websites, not just you. That’s 30 percent of the total websites (1) that live at the moment. I’m sure you’re ready to try WordPress with more passion than ever. It is hardly possible without WordPress being built on your local computer. With that in mind, we will tell you in this article how to install WordPress. Click the link or download the xampp here.
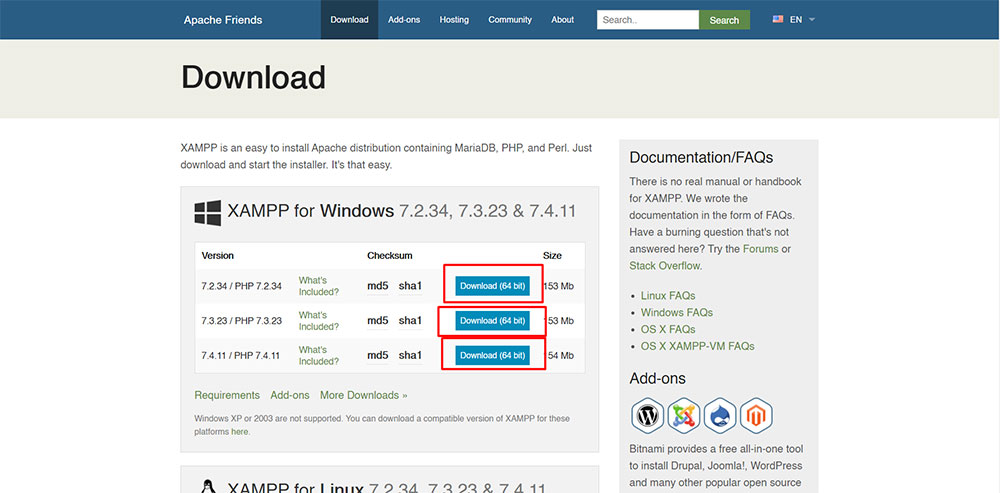
Step 1) On your computer, downloading and installing XAMPP
Downloading and installing the XAMPP app is the first step toward installing WordPress locally. The installer file for Windows can be downloaded from Apache. It is a big file, about 110 MB, so, depending on your access, it may take a couple of minutes then install your computer after then start the Apache or MySQL.

Step 2)- Start and test your server with both the modules
You’ll need to run two modules to run XAMPP and WordPress properly:
The Apache
Including MySQL
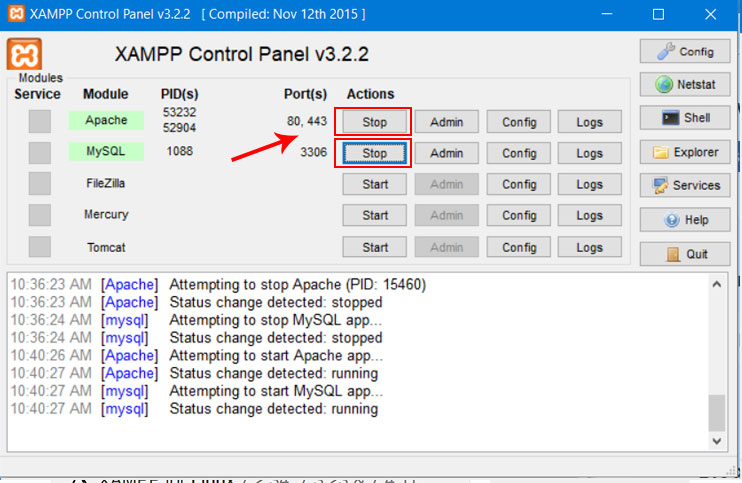
From the XAMPP control panel, you can enable both modules:
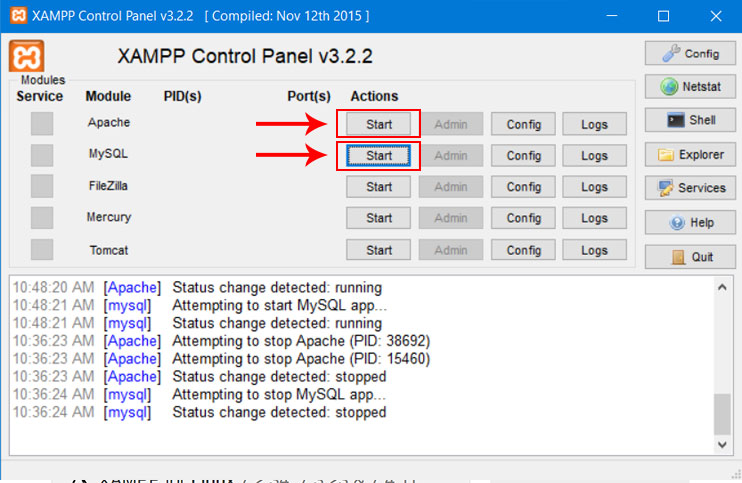
Step 3)- Start the apache or MySQL
Once you launch them, you should see their status turn to green: Here’s what you should see once you start Apache and MySQL
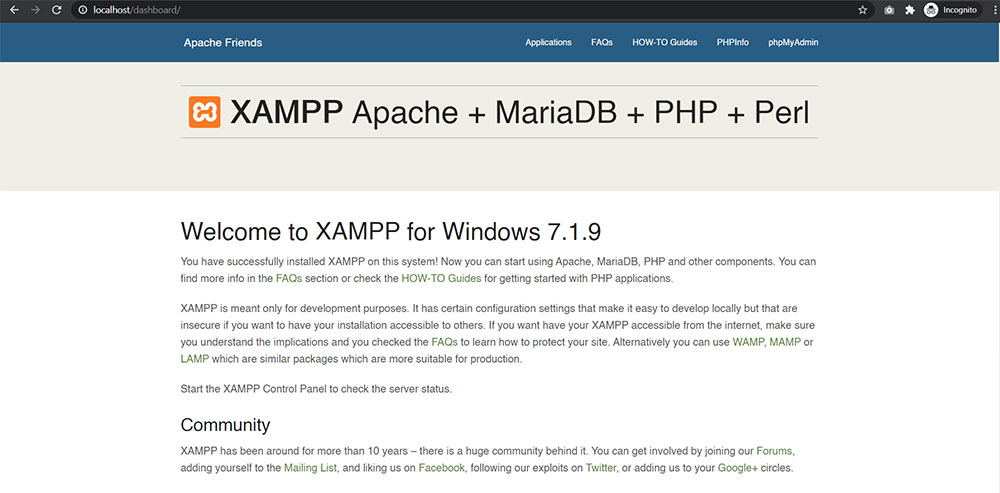
Step 4) Test your xampp local server is working.
Now, by going to http://localhost/dashboard/ in your web browser of choice, you should be able to verify whether your local server is working:
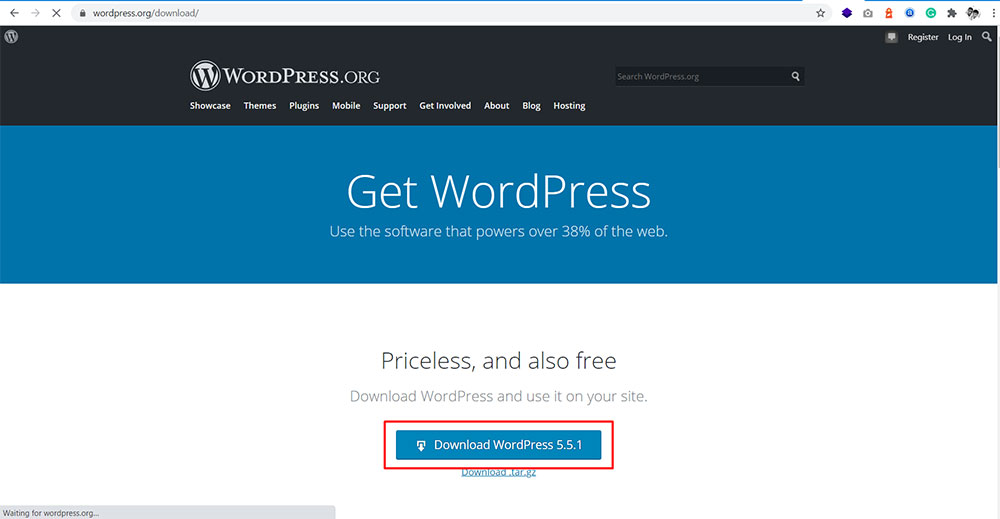
Step 5) Link the files to WordPress or download files.
The rest of the process should feel pretty familiar if you’ve ever installed WordPress manually. You need to go to wordpress.org first and download the latest WordPress version.
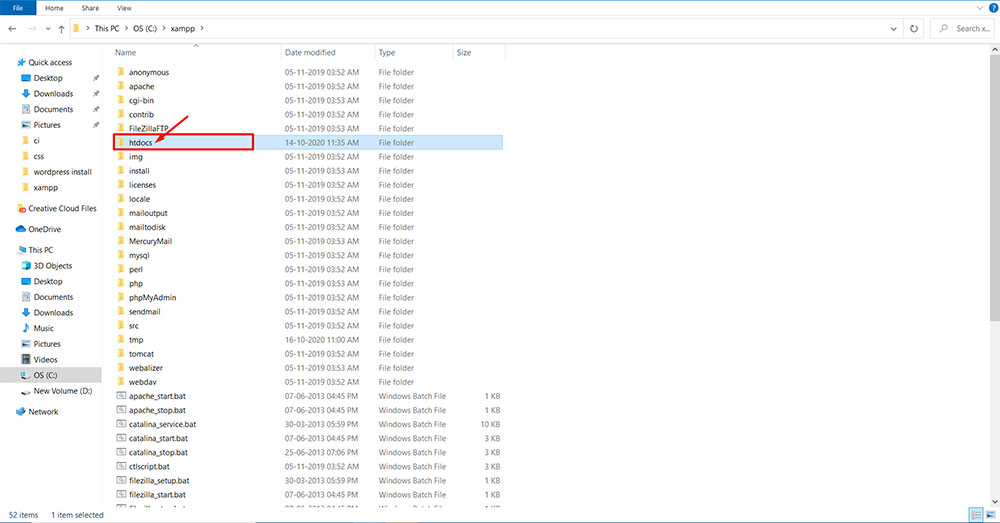
Step 6) Link the files to htdocs
Then, under Windows, navigate to the folder where XAMPP was installed. That’s C:/xampp for us. For you, it should be something similar. Then find the subfolder htdocs: in that folder:
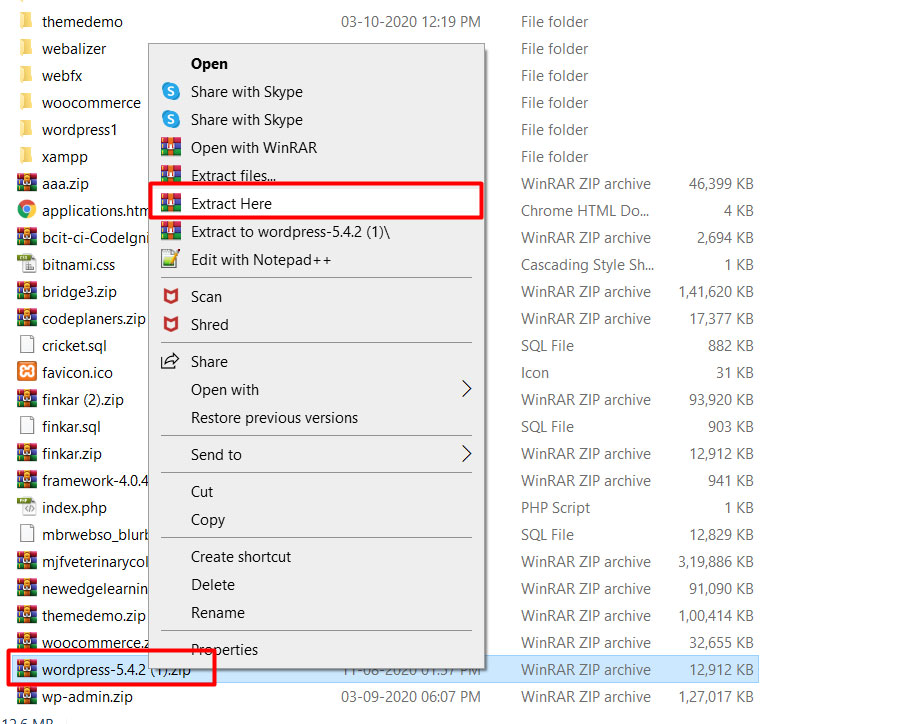
Step 6) Extract the WordPress files in htdocs
In the htdocs folder will become the sub-name used for accessing your site. For instance, if you build a demo website folder, by going to http:/localhost / demosite, you can access your site.
Extract the WordPress .zip file you downloaded from wordpress.org into it once you create a folder:
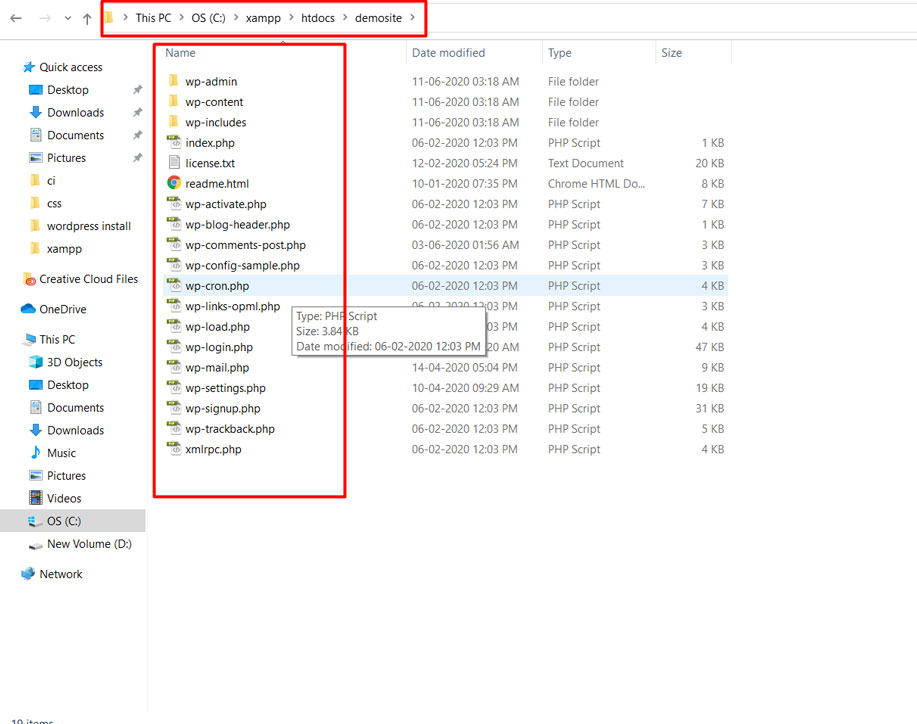
Step 7) place the new folder WordPress files.
create a folder for the demosite after then place the complete WordPress files in the demosite folder. you see the screenshot of all wp files here in the demosite folder.
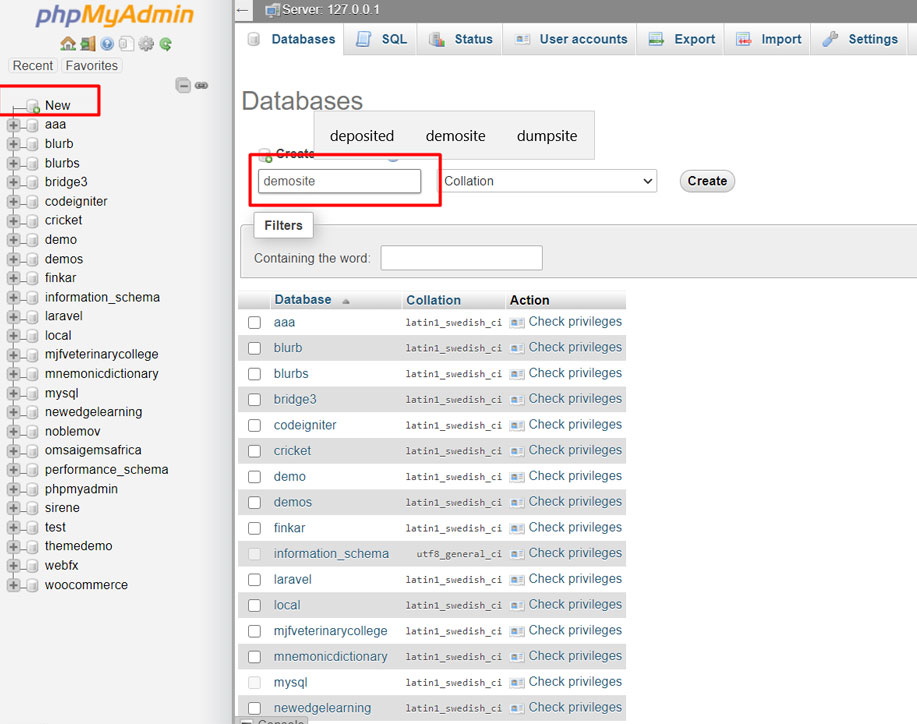
Step 8) How to Create a WordPress database
First, for your WordPress installation, you need to create a MySQL database. Launch PHPMyAdmin from your XAMPP control panel to do that: open the URL http://localhost/phpmyadmin/
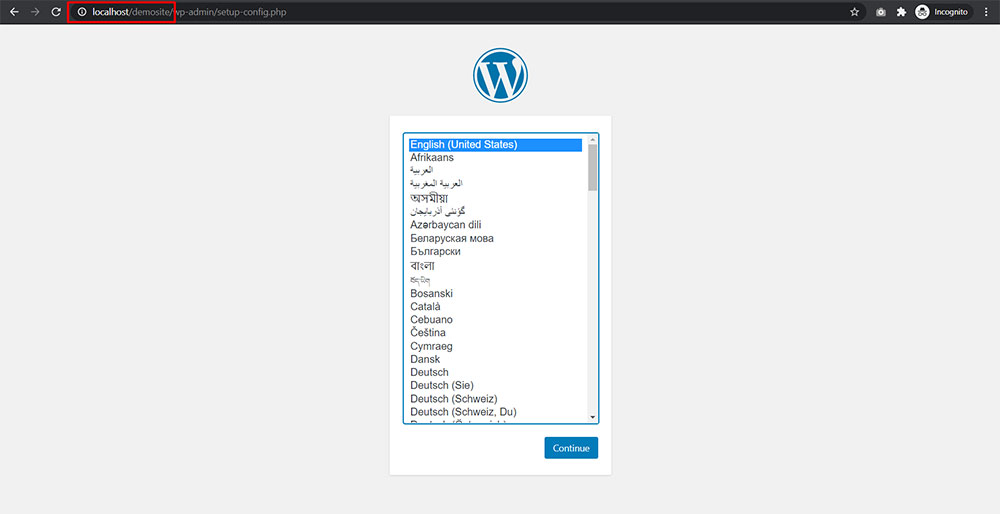
Step 9) Locally install WordPress via the on-screen installer
You should see the usual WordPress installer while you are going to visit your test site. Know, just http:/localhost/demosite : is your test location and click the continue button.
Database details have been the only stage where this process will differ from a normal setup. Enter them like this when you get to the database details:
Name of the database = database name you created with PHPMyAdmin
Username = “root”
Password = Keep blank
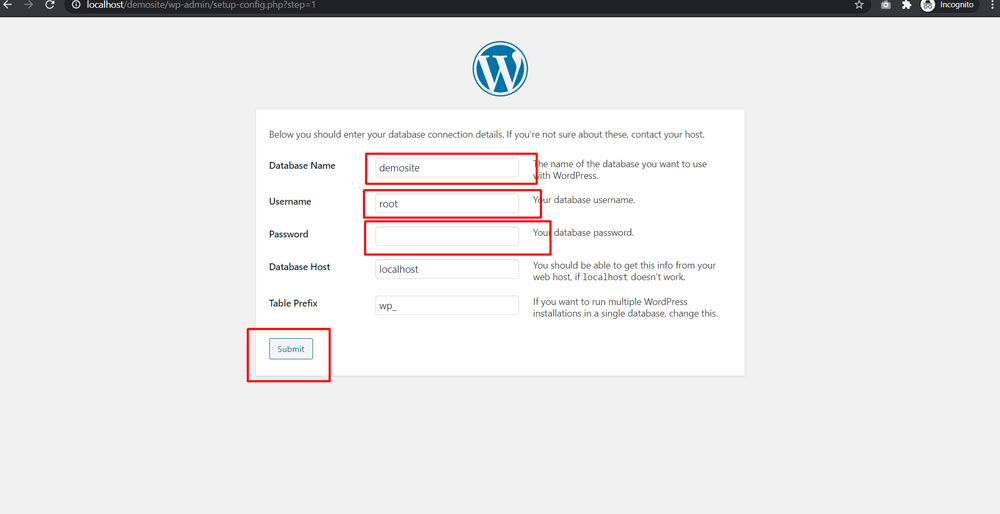
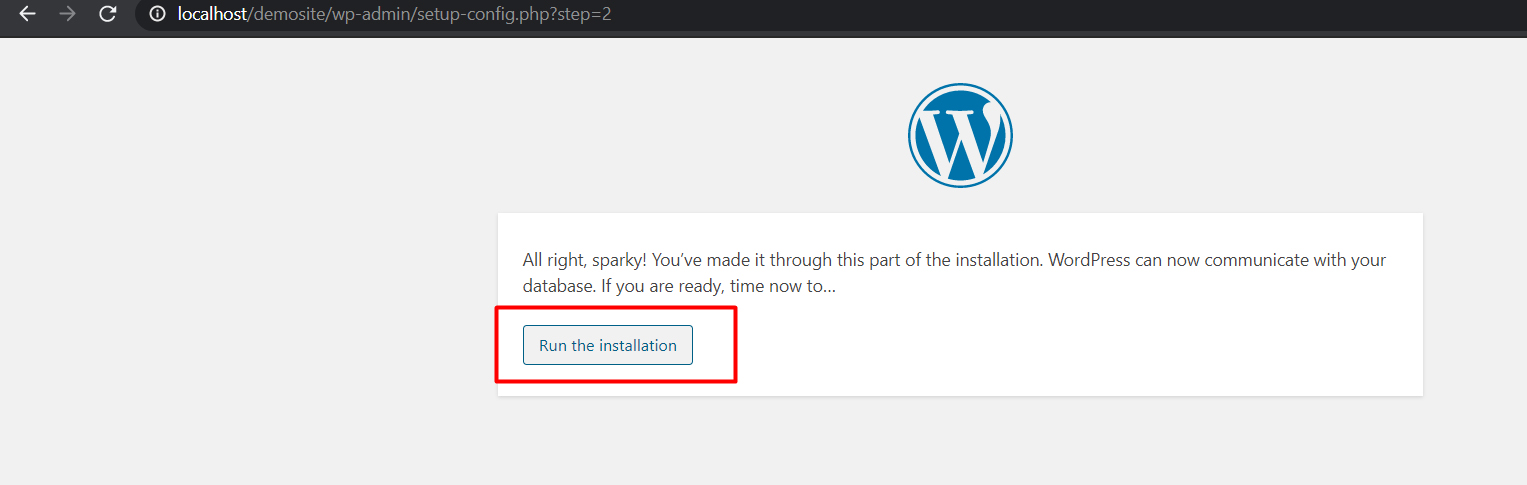
Then click to the submit after then you see the next page then it is asking for Run the installation
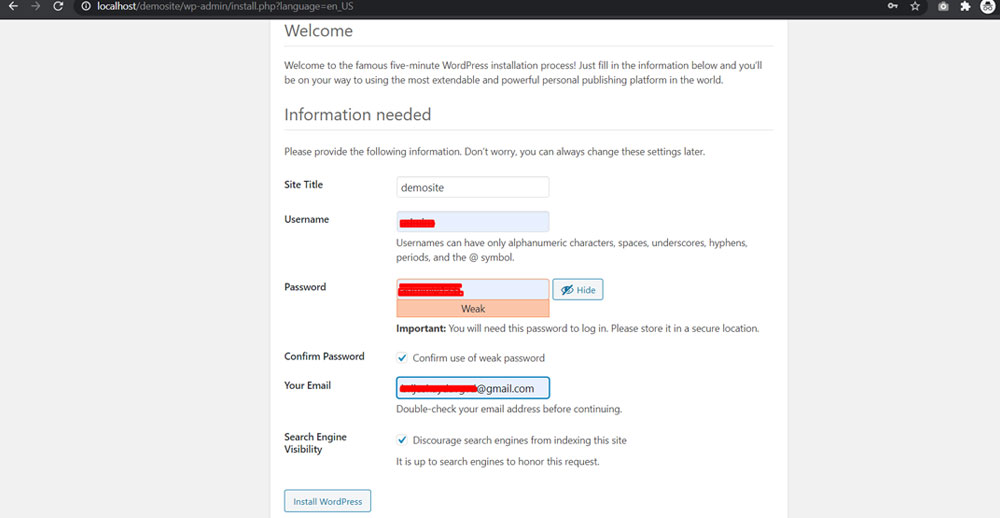
The final step of installation.
Give your site a title. We’ve called our WordPress ERP site here. Your database name can also be kept as the name of your domain.
Write the name of your user
Provide a good password
Write a personal e-mail address for you
Test the search engine’s visibility button carefully. Otherwise, Google will also begin to index your local location!
And finally, just click the WordPress Install button!
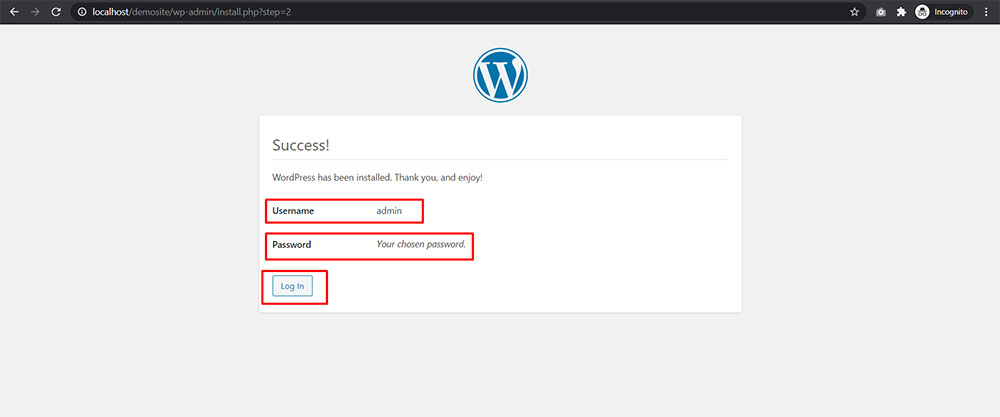
Yes, you have your installation complete. A notice like below is being seen.
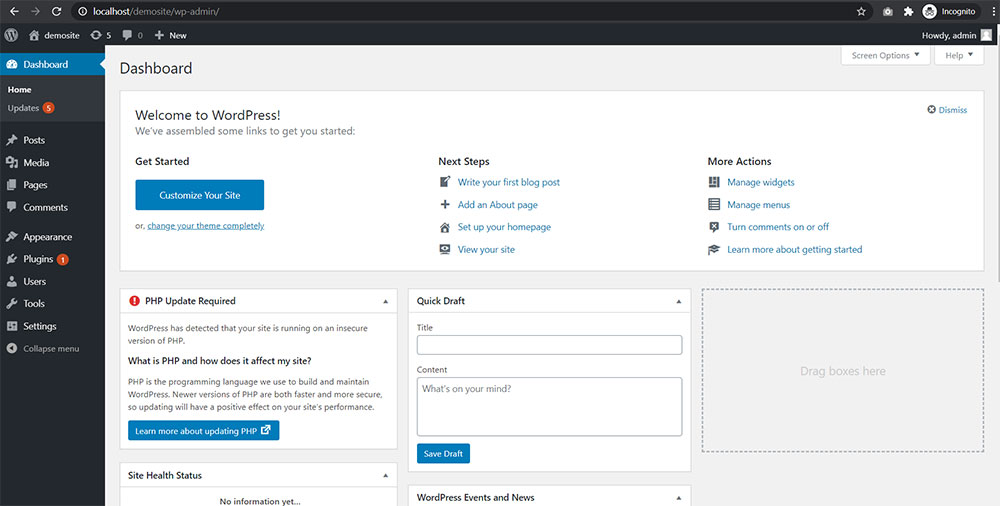
Step 10) Check out the place you built
Now is the time with your local site to check out. How would it look, or how would it structure? Provide a check.
This is your dashboard or admin panel backend, where you’ll control everything from.