
Published - | Updated - May 23, 2021 05:30 am
196 Views

Hi Dev,
Today, i we will show you how to install django on windows. This article will give you simple example of how to install django on windows. you will learn how to install django on windows.
Django is one of the most popular web frameworks in Python. It is secure. It is free and open-source.
So let’s follow few step to create example of how to install Django on Windows.
Step 1:- Install Python
Before installing Django, install Python. You can check out this guide I written, how to install python on windows
Step 2:- Open Command Prompt
Windows logo key and R(Win+R) and type cmd and then click ok.
Step 3:- Check Python Installation
python --version
C:\Users\dell>python --version
Python 3.9.5
Step 4:- Create Project Directory
let’s create a project directory. We will name it django_project since this article is just a example. If you want to give some other name, then you can give
create the directory:-
mkdir django_project
cd django_project
Step 5:- Create Virtual Environment
You can learn more about virtualenv here.
create virtual environment, type python -m venv venv type and wait
python -m venv venv
Step 6:- Activate Virtual EnvironmentPermalink
Run the following command
venv\Scripts\activate
virtualenv is activated, you will see (venv) at the beginning of the prompt.
(venv) PS C:\Users\Stanley\django_project>
Step 7:- Install Django
run the following command to start the installation
pip install django
Step 8:- Start a New Project
django-admin startproject to create our Django project structure called “testsite”.
Run the following command:
django-admin startproject testsite
cd testsite
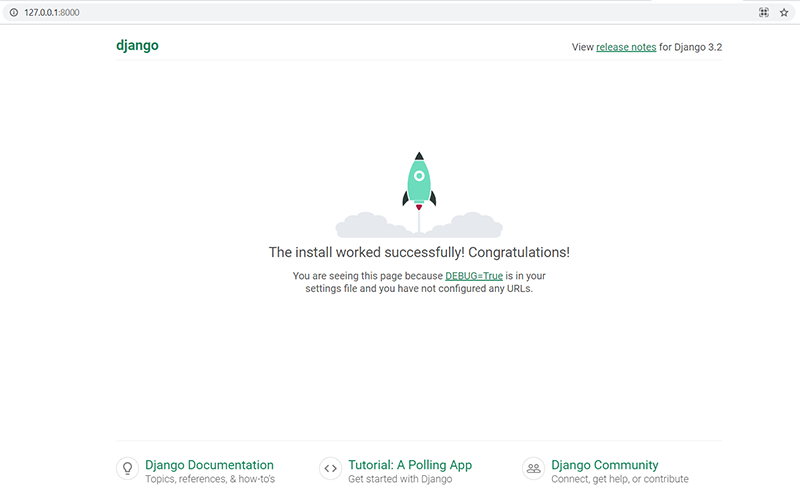
Step 9:- Run the Server
run the development server using the manage.py runserver.
python manage.py runserver
http://127.0.0.1:8000/