
Published - | Updated - February 14, 2021 04:15 pm
267 Views

This post was last updated on February 14th, 2021 at 04:15 pm
Introduction
Android Studio makes it easy for different forms, such as
handsets, tablets, TVs, and Wear devices, to create Android apps.
This page explains how to start a new project
for an Android app or import an existing program.
Follow these steps to build your latest Android project:
Step 1. Get the latest Android Studio edition enabled.
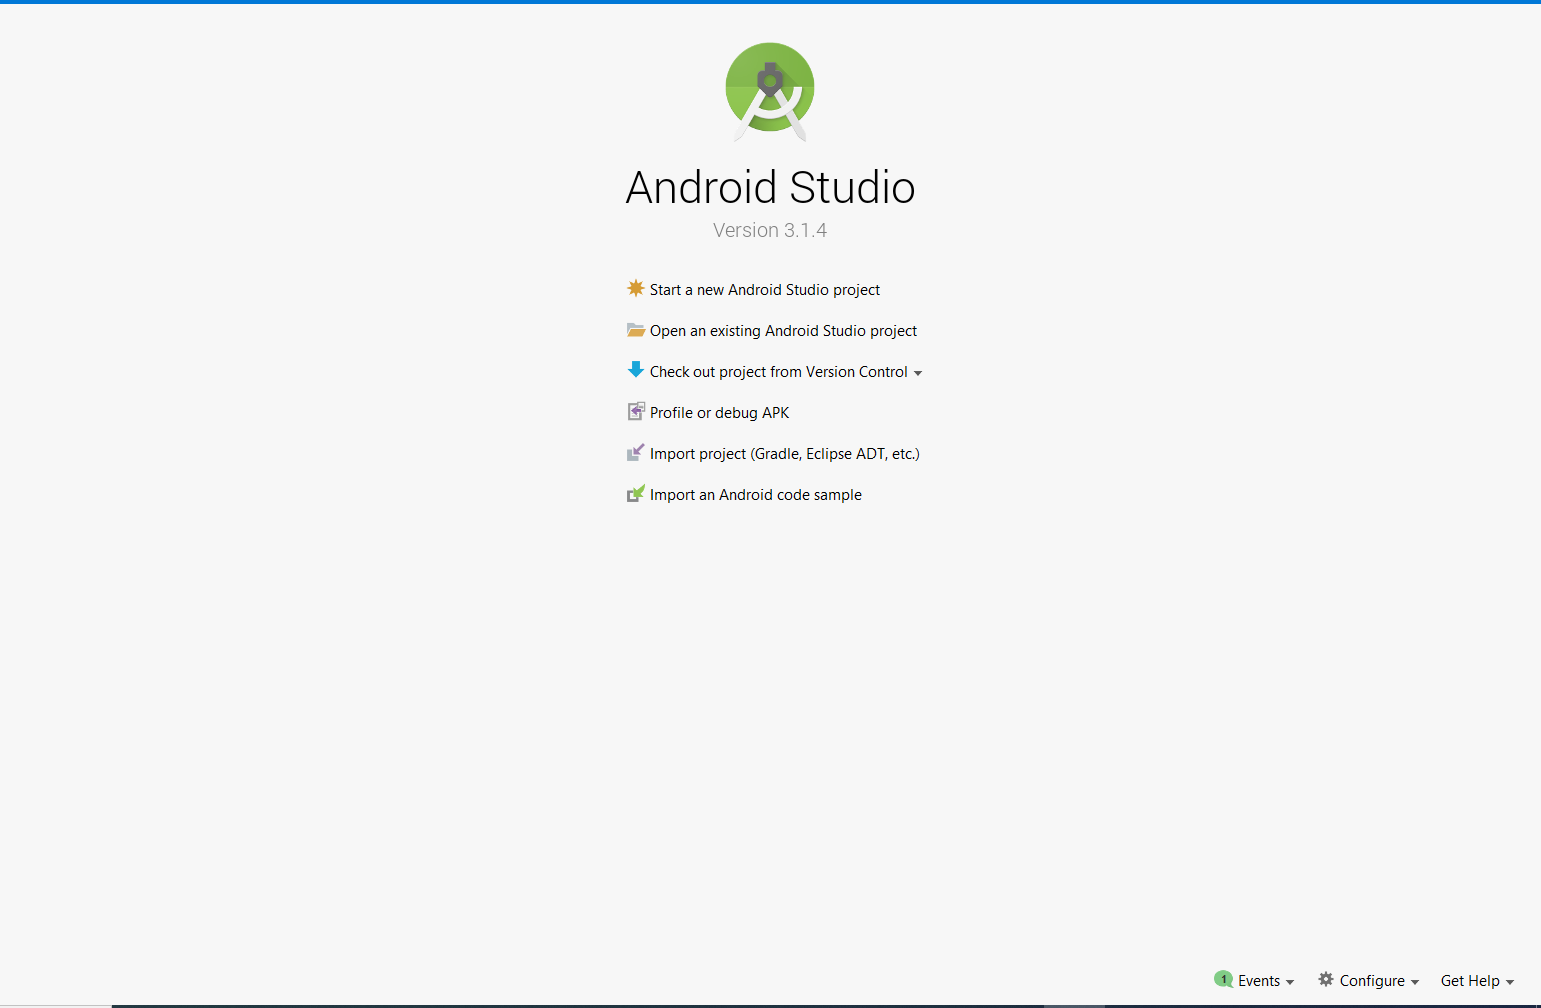
Step 2. Select Start A New Android Studio Project in the Welcome to Android Studio window.
Welcome screen with Android Studio
If you have already opened a project, choose File > New > New Project.
Step 3. In the Project template selection window, select Empty Operation, and then click Next.
Step 4. Complete the following in the Project config file:
- In the name sector, enter the ‘Demo App’.
- In the Package Name field , enter ‘com.example.demoapp’.
- If you want to put the project in another folder, change its position to Save.
- In the Language drop-down menu, choose Java or Kotlin.
- In the Minimum SDK field, select the lowest version of Android which your app will support.
- If your app needs support for legacy libraries, check the Use legacy libraries for android. support checkbox. Leave the other options
Step 5. Click Finish.
After some processing time, the Android Studio main window appears.

Window of Android Studio
Take a moment to review the most relevant files now.
First, make sure that the Project window is open (select View > Windows tool > Project) and the Android view is selected at the top of that window from the drop-down list. The following files can then be seen:
Application > java > com.example.demoapp> MainActivity
The main activity is this. It is your app’s entry point. The device launches an instance of this operation and loads its layout when you develop and run your app.
App > res > layout > Main activity.xml
This XML file defines the specification for the user interface ( UI) of the activity. “Contains an element of TextView with the text” Hello, World!
App > manifests > AndroidManifest.xml
The manifest file defines the app’s basic features and specifies each of its modules.
Gradle Scripts > build.gradle
With this name, there are two files: one for the project, “Project: Demo App,” and one for the app module, “Application: app.” Each module has its own build.gradle file, but there is only one module currently in this project. Use the build.gradle file for each module to monitor how your app is built by the Gradle plugin. See Customize Your Install for more information about this file.
Go to the next lesson, Run Your App.